
{Warning: This post is a little on the long side. Just wanted to give you a heads up!}
When I was younger, I was not a big fan of sewing and crafting, much to my mother's (and grandmothers') dismay. My maternal grandmother owned a fabric store for years, my paternal grandmother sews, and my mom sews as well. Unfortunately, I had no interest in learning. I am regretting that very much now that I'm older. I mentioned it to Gramma when we were in South Carolina and she made me a sewing kit with her supplies from her store. Hopefully I can pick it up quickly.
In the meantime, I have been doing other crafts that require little or no sewing. I have found a lot of great ideas on blogs that I was dying to try. This idea for felt pom-pom balls is super easy and cute. I made one in about 20 minutes, with cutting the circles occupying much of that time.
This next idea is my favorite. Unlike the pom-pom balls, it takes FOREVER!! But the end result is so worth it. I can't remember where I found the idea but many other blogs have the directions. I'll give you my instructions, but you can easily search for more on Google.
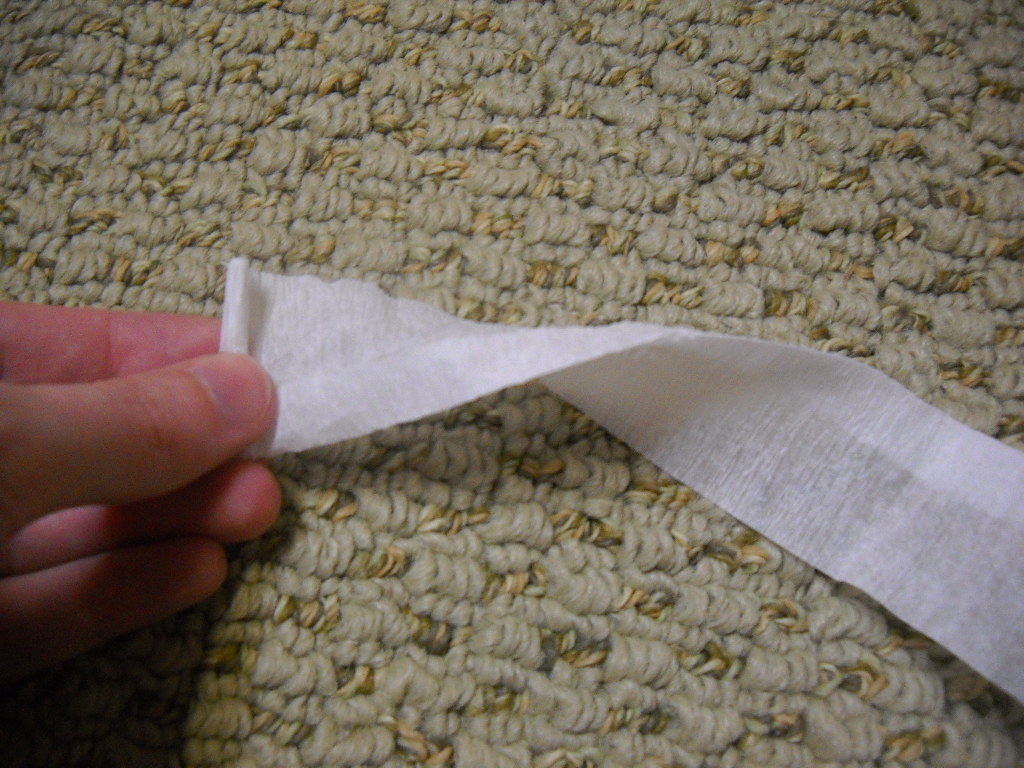
- Take a roll of streamers and cut strips of 24 inches in length. Crumble the strips to make them softer, then straighten them back out.
- Start rolling on one end, beginning with tight rolls and gradually getting looser.
- Use a hot glue gun to secure the ends (and maybe a few dots as you're rolling).
- Smush (apparently that isn't a word but I use it all the time) the top when you're done and voila! A paper rose.

Mine are not as wide as others, but the styrofoam balls I used were small, so the tight look works well. Just play with it until you get the desired look. Mine are short because I folded the strips in half. If you don't fold the strip in half, you will have a longer stem that you may need to cut off. It will also be easier to make a wider, looser rose if you do not fold the strips.

If you want the roses to look like the white ball (more like a real rose):
- Start by twisting the strip just like the first directions. I folded the edge up a little to make the tissue paper shorter.


- Now, continue twisting the roll as you twist the paper strand. This is super confusing so look at the pictures below.


- Glue the end the same way you would with the other type of flower.

You'll have a stem hanging off, so just glue it up to the bottom of the rose.

Final product:

Once you have enough roses, start gluing them on the styrofoam ball. If you use the first type of rose, it takes A LOT to cover the ball. My advice to you: Watch a chick-flick (or the Bachelorette) while you work. You'll get them done in no time. If you use the latter type, you won't need as many.
The next post coming up uses the white roses in a whole different way. You don't want to miss it!


No comments:
Post a Comment
Thanks for taking time to read my blog! I love to hear from you!